About / Context:
I was sitting in on a Texturing and Modeling club meeting and Rafael was showing us his incredible environment for critique. I mentioned that the snow actually having geo instead of just being textural would add a lot. It seemed like a fun tool to make so I created it later that day. By the next day we were able to get it working in Unreal Engine. I had a few things I wanted this tool to accomplish.
-
Obviously put snow on things
-
Be as art directable as possible
-
As usable as possible
-
Be as performant as possible
-
Work in unreal
I knew that I wanted to use Houdini engine for this tool. While creating this tool it occurred to me that "sketching" tools in Houdini could be a powerful technique for breaking down complicated tools into simple components for creating tools in blueprints or C++, I plan on exploring this more.
Check out Rafael's Artstation here:
Geometry Analysis
I had created a few HDA's before but never one meant to go inside of unreal. I was pleased that the process was very strait forward.
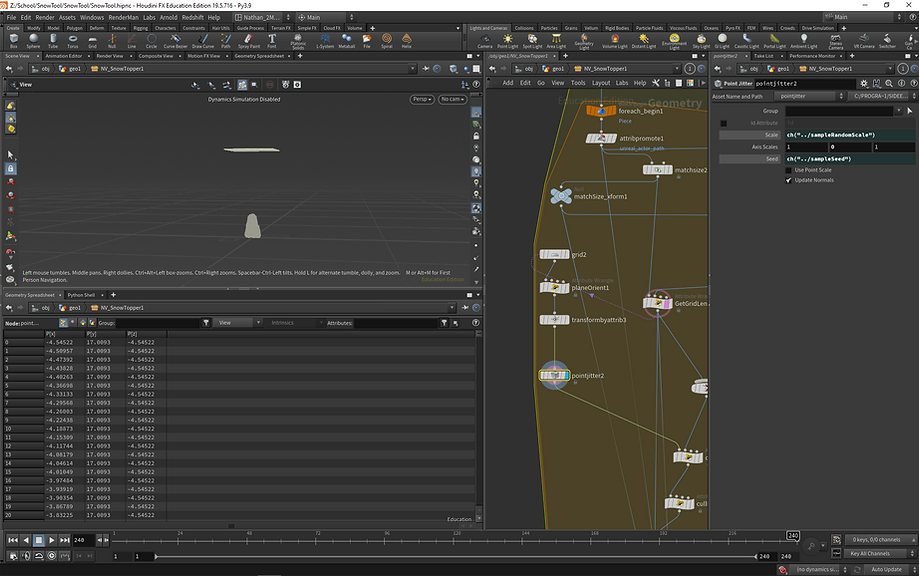
My approach for generating the snow was pretty simple. I would iterate over each input mesh by its unreal_actor_path attribute. and matchsize it to the center of the world. I bring in the other input geometries and apply the same transformation. This will be important later. I then create a grid with dimensions equal to the longest axis of the input geos bounding box, and a user specified number of divisions. I orient this grid to the user specified direction and then cast rays from the grid of points to the input Geo.

I delete all points that either didn't hit the input geo or hit one of the other geometries I brought in to act as occlusion objects. This looks like this:

I also cull points based on the dot product between the normal and the specified snow fall direction. This gives the user an easy control for snow level.

Clumping
I then have each point sample the number of points near it within a certain radius and store it. This acts as a sort of density map and I use it to drive the scale of the metaballs I eventually copy to those points. This gives kind of a natural falloff at the edges of snow drifts. This behavior is editable by the user. The image below shows the density map before any processing.

I delete any groups of points which aren't "dense" enough, this is to remove degenerate areas. and apply the user specified snow scale.

Preview Mode
I created a preview mode to allow the user quicker iteration of their snow. It's just copying low res spheres to half of the sample points and making the density map visible to the user. This way the user can view the snow scale and level easily. The preview mode looks like this:

Creating Snow
The snow shape is created by copying metaballs to the sampled points and then meshing then. The user has control over the meshing resolution. I also have a retopologize toggle that will automatically remesh the snow. The snow is given projected UV's and then its complete!

UI
Creating the UI was very easy as I used Houdini's parameter interface. This is the UI I settled on. I put some effort into making sure the defaults yield a clear result, but I kept it low res so the user can refine it as desired.


After some feedback from Rafael. I made the preview mode toggle on by default.
Check out Rafael's Artstation here: